
I thought it was about time that I tried another hex and counter wargame and I had heard amazing things about Hollandspiele and the designs of Amabel Holland, so this seemed like a logical next step. Hollandspiele games tend to be quite expensive in Europe, so I owe some thanks to my older brother who bought me a copy of Great Heathen Army and its expansion, which features Viking battles in Ireland, for my birthday. My previous experience with medieval hex and counter games has pretty much entirely been the Men of Iron series (which you can read about here: https://www.stuartellisgorman.com/blog/category/Men+of+Iron) so I was excited to explore another version of this style of game. I don’t know early medieval warfare to the same degree that I know the later period, and I’m not very familiar with the battles of the Great Heathen Army which rampaged through England in the 870s, so my ability to pick apart the historical aspects of the game is a little more limited here. Since I don’t have the same investment in the individual battles of this period, I just picked the first battle in the scenario book: Ashdown 871.

Great Heathen Army allows for relatively free deployment, so any poor decisions in unit placement are entirely my own! I think this is a clever way of adding more options to the game and reflects how little we know about the disposition of armies during this time period.
Great Heathen Army uses the Shields and Swords system and it’s a simpler system than Men of Iron – which in itself isn’t a particularly complex system (in wargaming terms, anyway!). Shields and Swords gets rid of things like unit facing, routed units, or seemingly any ability to recover from having sustained a step loss (represented by flipping your counter over to its often-weaker side). I actually really like these changes. The facing rules in Men of Iron weren’t complex, but I did often find myself forgetting to position my counters on the paper maps correctly and they had a habit of shifting around on their own – I have not gone in so deep yet as to have bought plexiglass to put down over my maps and I’m playing straight on the paper which means that sliding counters is a hazard of the gaming experience. I really like that there isn’t as much of an option to recover units and that elimination is more consistent as a result. I like the decision space in Men of Iron where you have to decide when in a battle to Rally your Routed troops – in theory anyway. Often it just feels like a way of prolonging the inevitable. If you have enough routed troops to need to Rally to avoid losing, often you have lost already. Combat results feel more consequential in Shields and Swords since you can’t just forfeit an action to flip a counter back from being disordered or spend a turn to rally your units – injuries that your units sustain are with you for the rest of the game. I prefer that, it makes each combat feel more immediately consequential.

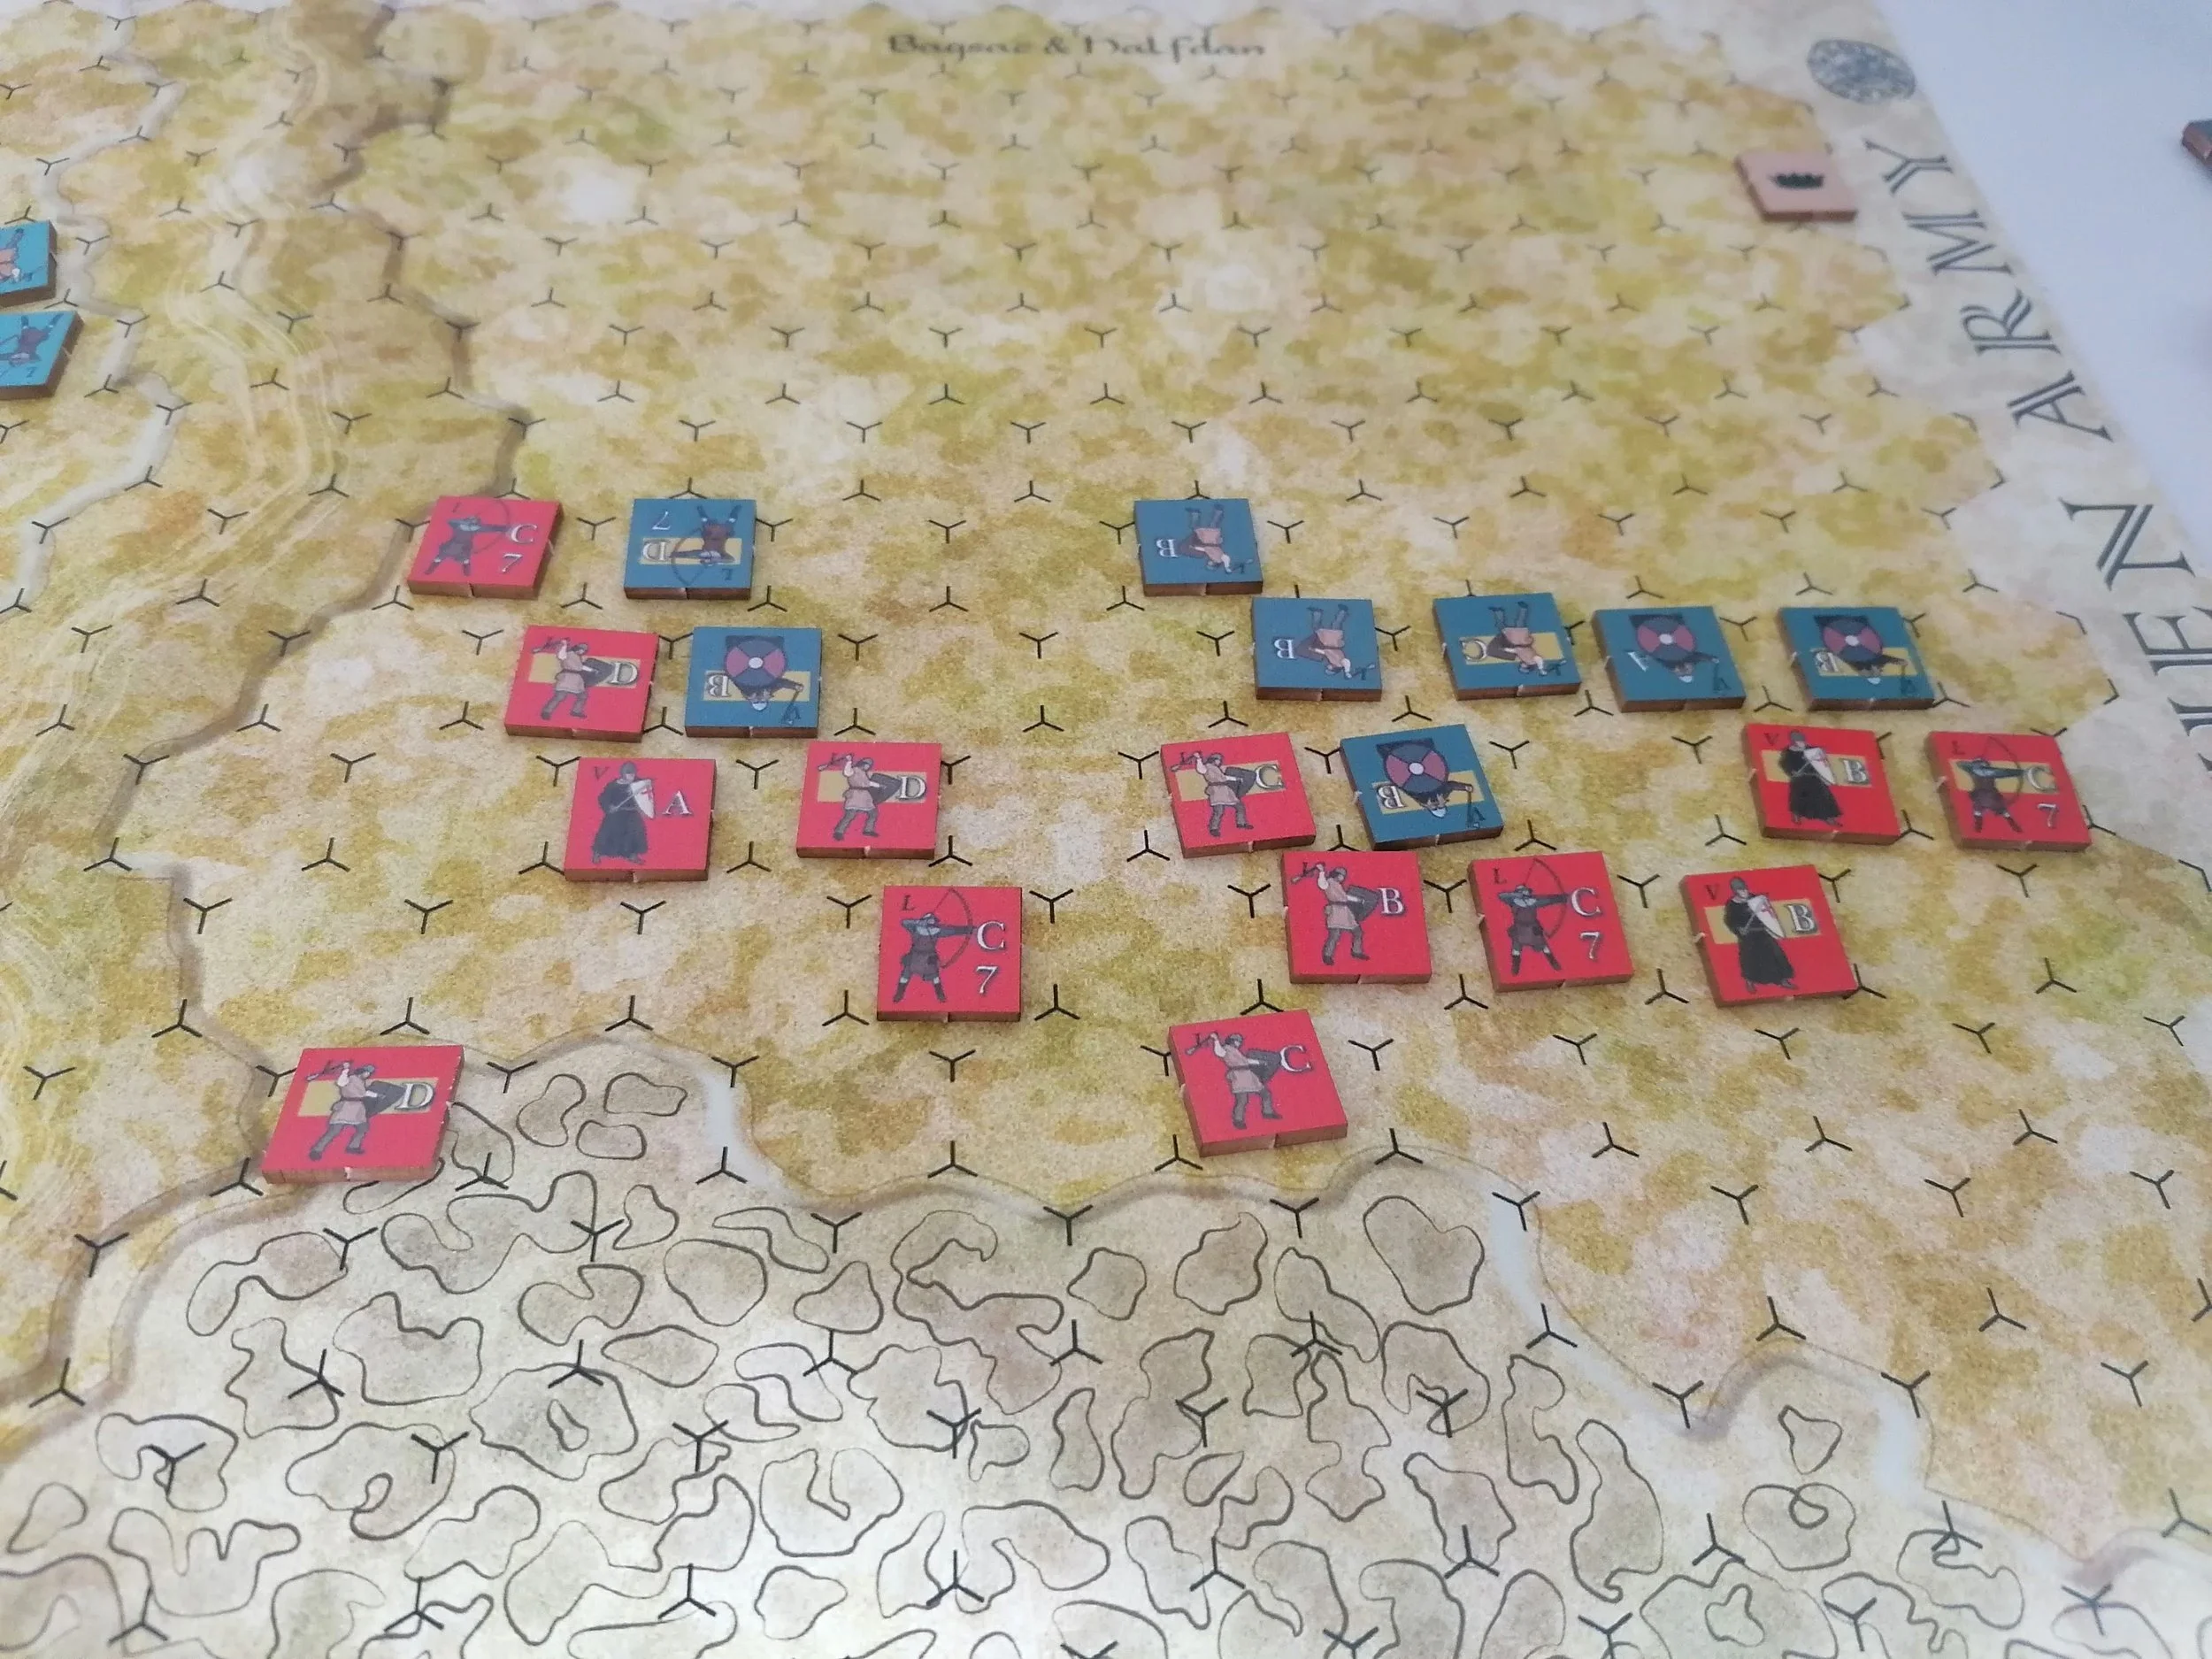
Early in this scenario only the right flank can receive orders, the Saxons are wading through the bog to engage the Vikings.

I gave the Viking king a foolishly aggressive position and promptly forgot where he was, resulting in him being isolated and attacked early.
Shields and Swords also has far fewer combat modifiers to think about – which is great for the math challenged like myself. In my game I was rarely adding or subtracting more than a few points and potentially shifting one Combat Rating value – combat rating determines which row on the combat table you refer to after rolling the dice and calculating your final result. I also like that it uses the trusty d8 rather than the always troublesome d10 – possibly my least favourite die after the d4. If I had my way all d4s would be like they are in Pendragon: d8s that only count to 4. I’m still not a huge fan of combat tables in general, so that was a slight mark against my enjoyment of the game. I can understand their value and I get why designers use them, but I prefer results that can just be read off the dice – either by looking for certain results or via custom dice. I know that is not always a practical solution, though.
The Viking king is quickly overrun as the lines break apart and both sides suffer casualties.
I really liked how you determine your actions in Shield and Swords. Each side has a small pile of order tokens that they assign to wings of troops to determine what actions they can take. In Ashdown I could assign two order tokens to each my wings – so they could March and Fight, or March twice, or Fight with a Bonus, for example. The tokens are double sided with different orders on each side, so by choosing one order you lock yourself out of another. In the Ashdown scenario the Vikings lost two of their orders when their king died (which happened very early due to me forgetting where he was) which further restricted their available actions. All you need to do for your turn is pick from a handful of options and then execute it, which is super simple but really engaging.

I remembered that I could now give orders to both Wings slightly later than I probably should have - but now the fight has begun on both flanks.
I had initially thought that Great Heathen Army was suffering from one of my problems with Men of Iron where it is often advantageous to just keep activating one Battle over and over again to push an advantage rather than utilising the full array of troops you have available to you. However, it turns out I had just misread the rules and, after an initial event took place that brought the second half of the board into play, I could assign orders to both wings of troops. I don’t know if this will hold true for every scenario in the book, but I really enjoyed having to choose which orders to give each flank. It was particularly challenging as the Vikings since they had fewer tokens and only one flank could receive the maximum two orders.

The left flank is going a bit better for the Vikings while the right is completely falling apart and the Saxons are overrunning the few remaining units.
That was definitely not the only rule I got wrong. Shields and Swords is not a very complex system, and the rulebook is quite short, but like a lot of wargames you need to wrap your brain around how it differs from other things you’ve played before to fully understand it. I could see habits from Men of Iron creeping into my decisions and I need to go back and revisit the rules now that I’ve played it to try and push those out of my head and fully situate myself in the rules of Great Heathen Army.
I haven’t even talked about the Initiative system which is very simple but very clever – like a lot of this game honestly. In Ashdown 871 neither player started with the Initiative, and it only entered play when one player chose to give it to their opponent. Doing so unlocked extra orders and ended a rule where dead Vikings were worth double VPs. If the Viking player had Initiative, they got a -1 to all their combat rolls (which is actually a bonus, rolling low is good), but at the end of a turn either player could give their opponent the Initiative token and then immediately take a second full turn. This is super powerful, but to do it you must surrender it to your opponent and give them the chance to do it back to you. It’s very simple, but I really liked it and it really feels like it captures the essence of having the initiative in a conflict. You’re using your initiative to push yourself further, but in the act, you are surrendering that control. It’s very cool.

The Viking player surrenders the Initiative to take two turns and push home a surprise victory despite the disastrous right flank battle. At the top you can see the piles of dead units. The death of the Saxon king clinches the Viking victory.
Playing Men of Iron feels a bit like running a simulation – I find it interesting but only occasionally is it genuinely fun. I enjoy my time with it, but I wouldn’t like it nearly as much if it was about a period of history, I was less interested in. In contrast, Great Heathen Army was a lot of fun as a game in addition to being interesting history. Whereas I’m generally content to play Men of Iron solitaire and rarely repeat battles, I would really like to sit down with someone and play Great Heathen Army against an opponent. I would also happily play Ashdown 871 again, there was a lot of fun game to be had here. I’m definitely looking forward to digging deeper into this game!
If you’re interested in further reading on this subject, while not focused on the battles and military side of things as much Cat Jarman’s River Kings includes some fascinating information about the composition, movement, and evidence for the Great Heathen Army. You can read my review of her book here: https://www.stuartellisgorman.com/blog/river-kings-by-cat-jarman